With the snow finally melting and spring approaching, it’s a good time to buckle down and get as much done outside your property as possible. One task that often gets overlooked installing a car window deflector to protect your vehicle’s exterior paint and components from the sunrays, which can cause fading, chipping, and cracking. Read the article shared by Instant Cash For Cars Perth to learn how to install a car window deflector.
Introduction:
If you are looking to install a car window deflector, there are a few things that you need to know. This guide will help you select the right product and protect your vehicle.
Many different types of window deflectors are available on the market, so it is essential to research before making a purchase. You want to ensure that the deflector you choose will fit your car correctly and offer the level of protection you need.
Some deflectors are made from different materials, so consider all your options before making a final decision. Opting for a metal or mesh deflector is your best bet if you are looking for maximum protection. These deflectors can withstand more force and provide better coverage than other options.
Make sure to follow the installation instructions that come with your window deflector carefully. Once it is installed, regularly check it to ensure it is still in place and not causing any damage to your car. By taking these steps, you can rest assured that your vehicle is protected from potential hazards.
A Brief Overview of the Problem
Many people think a car window deflector is only necessary for the winter to keep the snow and ice off your windshield. However, a properly installed car window deflector can help protect your vehicle all year. From summer storms to freezing temperatures in the winter, a car window deflector can help keep your car’s interior safe from the elements.
There are a few things you need to take into consideration when installing a car window deflector:
- You must ensure that the deflector is the right size for your car.
- You need to install the deflector correctly so that it does not come loose and cause damage to your vehicle.
- You must know the maintenance required for a car window deflector.
You can easily install a car window deflector with some research and care. These steps can help protect your vehicle from the elements and extend its life.
Window Deflectors Shield the Windows From UV Rays, Dust, and Pollen
Window deflectors are a great way to keep your windows clean and protect your car from UV rays, dust, and pollen. They are easy to install and can be found at most auto parts stores. Follow these simple steps to install a window deflector on your car:
- Clean the area where the deflector will be installed with alcohol or another cleaner, which will help ensure that the deflector adheres appropriately.
- Measure the area to be covered and cut the deflector to size if necessary.
- Peel the backing off the deflector and apply it to the window.
- Use a blunt object to smooth out any bubbles or wrinkles in the deflector.
- That’s it! Your window deflector is now installed and ready to do its job!
Shields Your Vehicle’s Important Sides from Unwanted Scratches, Stains, and Markings!
Window deflectors are a great way to keep your car’s paint job looking new. They come in various colours and styles to match any vehicle and are easy to install. Window deflectors shield your car’s essential sides from unwanted scratches, stains, and markings. They also help to keep your car’s interior clean by redirecting wind and rain away from the windows.
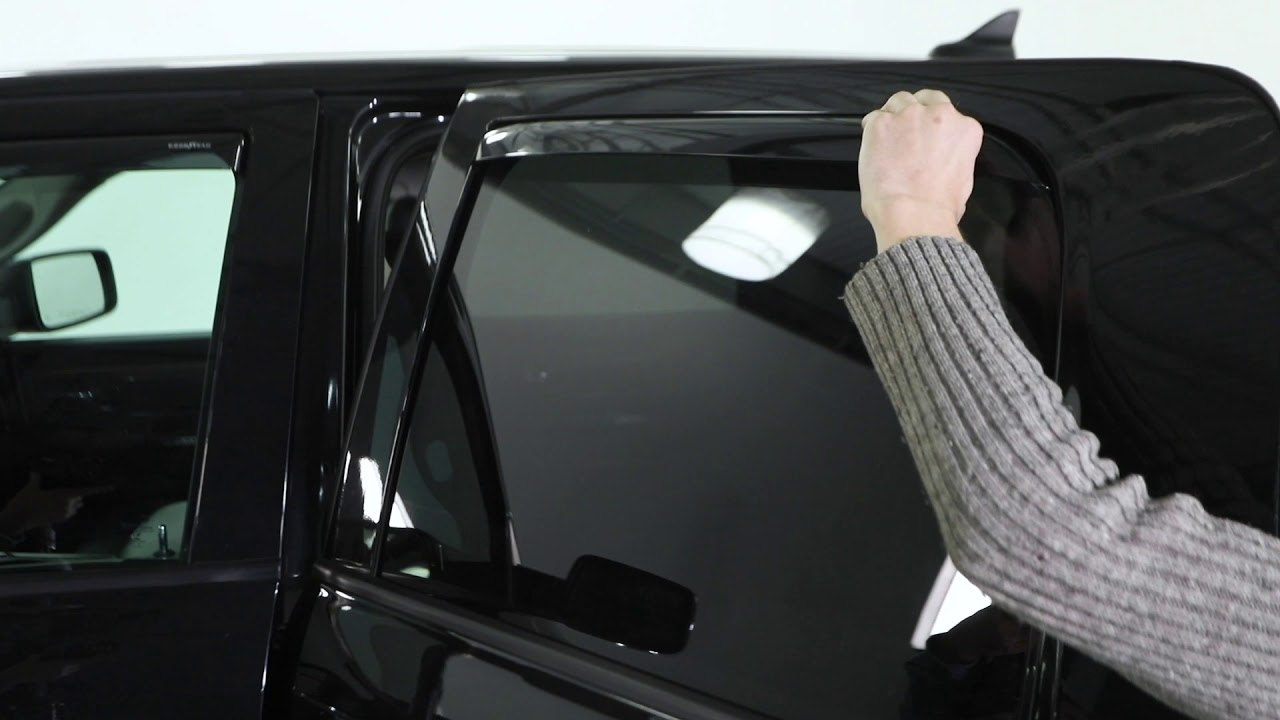
Installation:
Assuming you have all the necessary tools, installation is a breeze. Start by rolling down the window you plan to install the deflector on. If the area where the deflector will sit is dirty, use a clean cloth to wipe it down so the adhesive will have an excellent surface to grip. Next, peel off the adhesive backing on the deflector and slowly attach it to the top of the window frame. Once it’s in place, use your fingers to press down along the deflector’s edge and ensure good contact with the car’s surface. Finally, roll up the window to check that everything lines up correctly and voila! You’ve just installed a car window deflector!
- Clean the surface with a cloth if necessary
- Peel off the adhesive backing on the deflector
- Slowly attach deflector to top of the window frame
- Use fingers to press down along the edge of the deflector
- Roll up a window to check for correct placement
Window Deflectors Are One of the Easiest Home Cosmetic Modifications to Install
Window deflectors are one of the most straightforward home cosmetic modifications to install. They’re typically made out of polyurethane and attach to the outside of your car door with either solid double-sided tape or screws. The purpose of window deflectors is two-fold: they help keep rain and debris from flying into your car when driving, and they can also reduce glare from the sun and make it easier to see while moving.
Installing window deflectors is a relatively straightforward process that can be completed in just a few minutes. If you ‘re using double-sided tape, clean the area where the deflector will be attached with alcohol to remove any dirt or grease. Then, peel off the backing on the video and attach the deflector to the door. If you \’re using screws, first drill small pilot holes into the door where the screw holes on the deflector are located. Then screw in the provided screws until tight.
Once installed, enjoy the increased protection from weather and sun while driving!